


Are you aware of what strobing is? Maybe you already heard it somewhere but you don’t know what it means. So, if you’re interested to know and learn what it is and how it’s done, stick around and read this strobing makeup tutorial and find out if it suits you.
Makeup Tutorial | Strobing: Say Hello to the Latest Makeup Trend
Goodbye Contour, Hello Strobing
Recently, there is a makeup trend that is creating a buzz everywhere. A lot of famous celebrities have been seen wearing this kind of makeup. It’s called strobing. Strobing basically is highlighting the high points of your face. It is a makeup method that does not need any contouring. Just making the different points of your face glow. To demonstrate how it is done, read this tutorial by Kim Kardashian West and find out how you can do it.
You’ll be needing:
- Benefit Watts Up Highlighter
- Beauty Blender White Sponge
- Marc Jacobs Pop Eye Stick “Honey Bunny”
- Loose Translucent Powder
- Anastasia Beverly Hills Illuminator “So Holywood”
- Charlotte Tilbury “Dolce Vitta” Eyeshadow Pallette
- Charlotte Tilbury Lip Cheat “Iconic Nude”
- Charlotte Tilbury Very Victoria Lipstick
- Blush
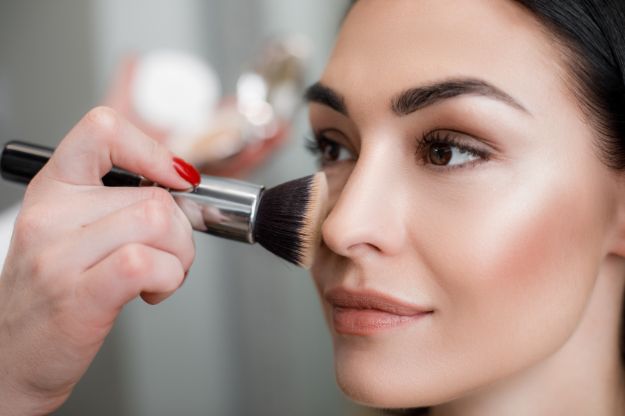
Step 1: Highlight the Cheekbones

Apply the Benefit Watts Up Highlighter using a brush on your cheekbones.
Step 2: Highlight the Other high Points of the Face
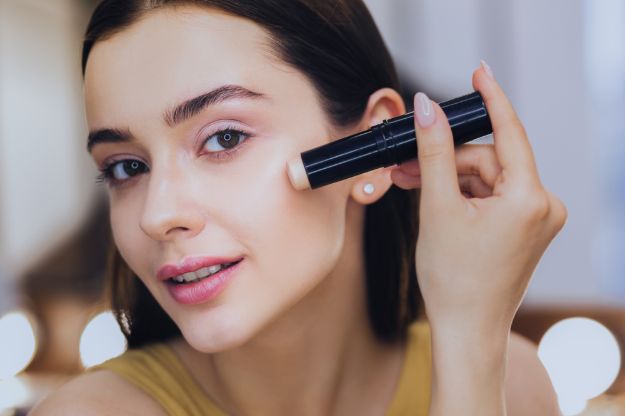
Apply the same Illuminator to the bridge of your nose and your cupid’s bow. This will make pump up your upper lip.
Step 3: Blend
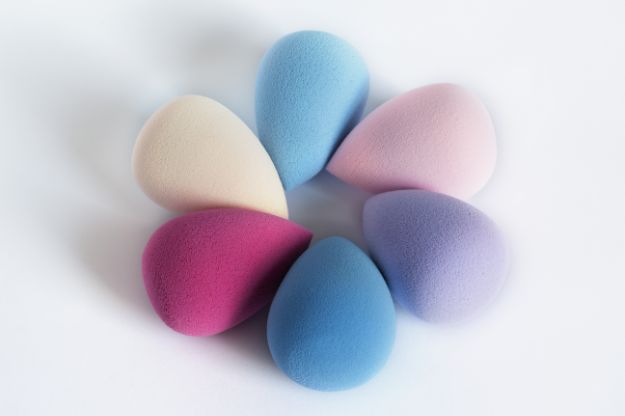
Blend the Illuminator with the use of Beauty Blender White Sponge. This will incorporate the product to your face better.
Step 4: Highlight the Inner Eye
Apply Marc Jacobs Pop Eye Stick “Honey Bunny” to the inner corners of the eyes. Blend the product using a brush towards the outer corner until the middle of the lash line.
Step 5: Highlight the Brow Bone
Again using the Marc Jacobs Pop Eye Stick “Honey Bunny”, apply some to the brow bone just below the eyebrows. It will give an additional glow to the high points of your face.
Step 6: Set with Powder
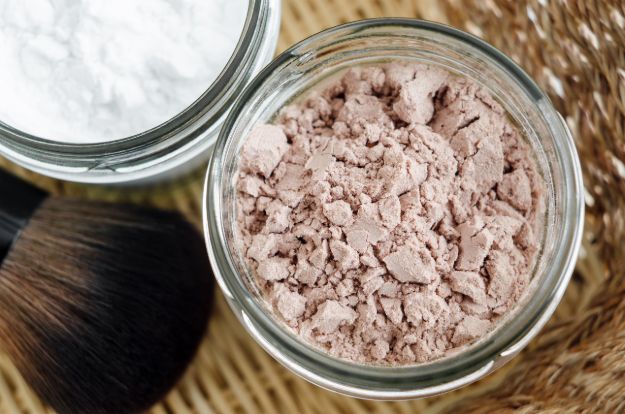

To prevent from getting an oily face instead of a strobing one, apply some loose translucent powder to the T-zone of your face. Apply it on the sides of your nose and on the forehead. This will ensure that your face’s highpoints are the ones that are illuminated and not your entire face.
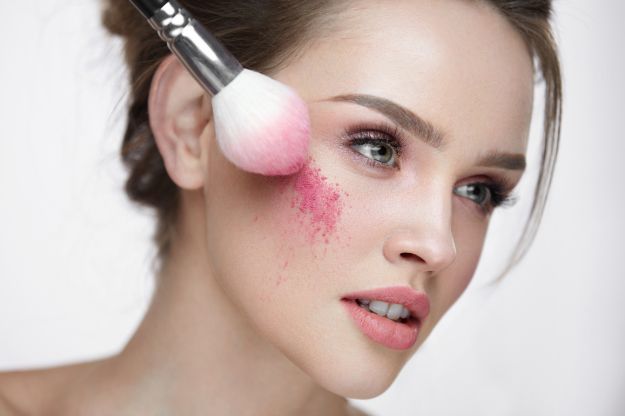
Step 7: Intensify the Strobing
Intensify the strobing by applying Anastasia Beverly Hills Illuminator “So Holywood” on the high points that you’ve highlighted before. These are on your cheekbones, cupid’s bow, bridge of the nose and the brow bone.
Step 8: Apply a Little Bit of Blush
Smile and apply some blush on the apples of your cheeks to add dimension to your face. This will also help so that your face will not be too shiny.
Step 9: Apply Eyeshadow
Apply the Charlotte Tilbury “Dolce Vitta” Eyeshadow Pallette to the eyelids.
Step 10: Put a Little Color on Your Lips
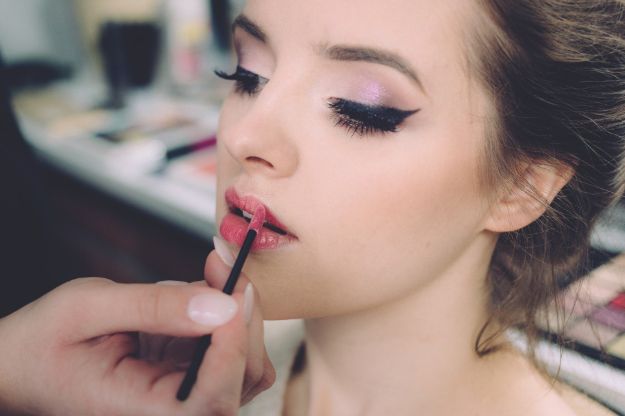
Apply the Charlotte Tilbury Lip Cheat “Iconic Nude” lip liner to the outer corners of the lips and meeting up in the middle. After that use the Charlotte Tilbury Very Victoria Lipstick to stain your lips for a natural look. And finish with the Benefit Watts Up Highlighter on the top of your lips for an additional glow.
And you’re done!
You now have a radiant glowing skin! If you want you can also highlight your collar bones and chin. It all depends on what parts of your face you want to accentuate.
What do you think? This also gives a more radiant look for your face. If you’re not really confident in your contouring skills, this makeup trend might just be the one for you. Just be careful not to overdo the highlights and make your whole face shiny.