

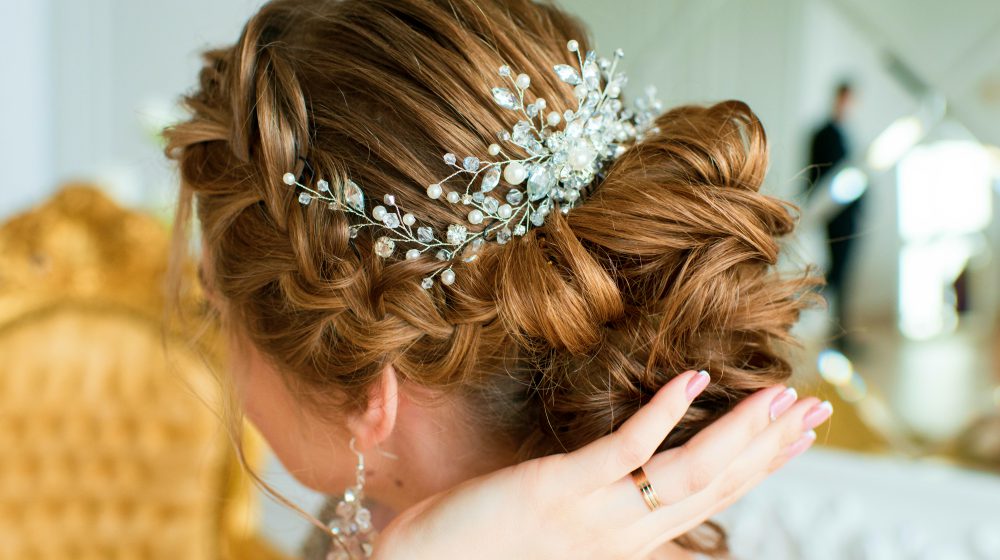
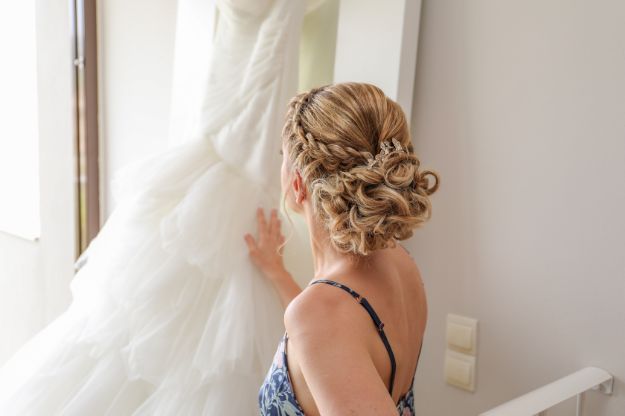
When it comes to your wedding day, or any formal occasion, long hair can be difficult! Curls wont last, updo’s fall… so we have quite the solution for you. We like to call this beauty the Bow Braid. Complex, elegant look, that’s surprisingly easy to achieve! Follow this simple step by step tutorial to achieve this beautiful long lasting style, you’ll be sure to turn heads.
Bow Braided Hairstyle | Wedding Updos
Supplies for your perfect wedding hairstyle:
- Brush
- Comb
- Shine Spray
- Hairspray
- Clips
- Bobby Pins
- Hairties
- Spray Bottle with Water
- One Large Hairpin
Step 1: Sectioning.
As with any style begin by brushing out any tangles. The sectioning will create four sections, all diagonal: Bangs, 2 large diagonal section for braiding, and one small diagonal section at the bottom. Cleanly section the hair and clip up with butterfly clips. See photos for reference.
Step 2: Top French.
In section number 2, create a standard french braid. Braid to the end and tie off with a hair tie.
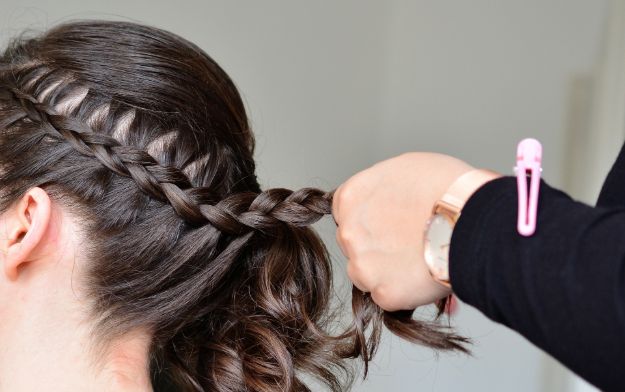
Step 3: Bottom Dutch.
In section 3, braid an inverted french braid, also known as a dutch braid.
Step 4: Insert hairpin
To begin the bow, we are going to insert our hair pin under our top notch of the top braid as shown below. (This particular mannequin has thick hair, so instead of a hair pin, we will be using a bent wire.)
Step 5: Slicing.
Next, we are going to section off a small slice at the corner of the bang section. Be certain to keep this slice VERY THIN! This will help you in an upcoming step.
Step 6: Create a loop.
Using a small amount of shine spray, smooth the section until no fly-aways remain. Then create a loop and insert into the top of the hair pin. It is important to work with a small section to ensure the loop fits in the pin.
Step 7: Extend the loop.
Pull the loop until about 2″ away from the end of the SHORTEST LAYER OF HAIR! Pulling the end of any layers through this look will make your bows look messy!
Step 8: Pull through braid.
Holding on the top of the loop, pull the pin through the braid. This will create your first bow!
Step 9: Tuck the tail.
As you see, we have a tail that remains. To cover, simply tuck the tail along the top of the braid. It will be covered by all the bows you will make.

RECAP!
Step 10: Bottom row.
Repeat all the bow making steps exactly the same, except add to the bottom rung of the braid.
Step 11: Hiding the ends.
Once you have the entire head finished, you will need to take the ends of the braid and bobby pin them along the bottom hairline. Remove the hair ties before. This will finish your style!
Congratulations on your patience and your beautiful new hair!
Don’t miss all of our latest and greatest makeup tips right here on YSP. Did we miss something important? Make sure to leave your comments in the comments section below! Your feedback is really important to us. The more tutorials you suggest, the more likely we are to do posts like that in the future. Check out all of our DIY makeup tutorials, beauty hacks, hair tips, wedding ideas, and so much more! At You’re So Pretty we pride ourselves on delivering you the most groundbreaking beauty products and videos on the market!