


Are you planning to jazz up the wedding hangers for your most awaited BIG day? You’ve got the tools and we’ve got the tips and tricks! No need to switch tabs because you’re on the right article. Read on, girl!
Are you ready to spruce up those plain wedding hangers with pretty pearl beads? Yes, you’ve read it right — beads! As you get closer to claiming your “bride” tag, allow us to help you out with your wedding preparations before getting hitched. This time, we’ll sprinkle some creativity and elegance to hangers using beads!
DIY Pearl Wedding Hangers That Will Glamorize Your Big Day!
Here comes the BEAD!
It’s every woman’s dream to walk down the aisle and officially be with your man, right? I personally can’t stop dreaming about that special day to come. (hopefully!) However, there are a lot of preparations to consider first before savoring that special moment like the wedding dresses for your entourage.
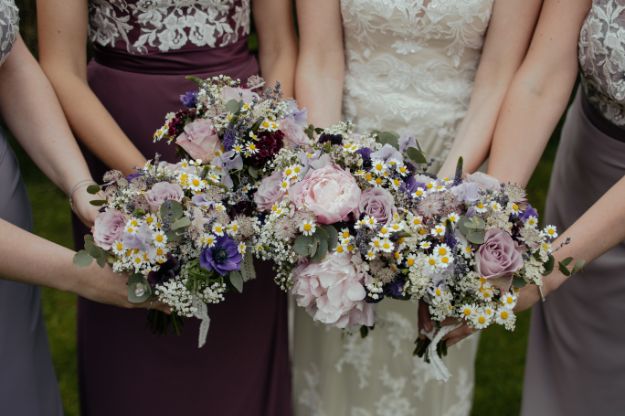
Aside from the stunning dresses of your bridesmaids and your wedding gown, (of course!) wouldn’t it be nice to incorporate their holders to your main event? Your ladies will love seeing these personalized crafts on your big day! (How sweet!)
So before you exchange vows with the man of your dreams and be in full swing, let’s dig into some stylish crafts first!
For these wedding hangers, you’ll need:
- 1 old but good dry-cleaning wire hanger
- large plastic pearl beads
- wire cutter
- scissors
- ribbon
- glue gun with glue sticks
- name tags (optional)
It’s time to prettify those lonely hangers!
Instructions:

Step 1: Prepare your hanger
Remove the unnecessary cloth or wraps of the hanger to expose the wire. Carefully straighten the top hook of the hanger.
Step 2: Glamorize the top hook
Insert and push the pearl beads onto the top hook until you have a space good for only one pearl bead. Bend the top hook back to its original shape. Use the glue gun to attach and secure the final bead.
Step 3: Snip the base
Using a wire cutter, cautiously snip the base of the hanger into half.
Step 4: Thread in more pearl beads
Straighten one side of the hanger using your hands then insert and thread the pearl beads one at a time into the wire. Bend the wire back to its former shape as you go until you’re almost done inserting the beads.
Step 5: Secure everything in place
Straighten the other side of the hanger and insert the pearl beads into the wire. Bend the wire back to its original shape as you go. Get you glue gun and one pearl bead to secure the cut ends of the hanger. Hold it for a while and let it cool until the glue hardens.
Step 6: Hide it through a ribbon
Cut and tie a ribbon around the neck of the hanger to cover the bare part of the wire. You can also attach name tags onto the ribbon for a more personalized touch.
Ready to be displayed!
Who would not be excited when they see these plain wire hangers turned to elegantly adorned ones? Your bridesmaids might keep these closet staples as souvenirs, too!
Here’s the video tutorial of this Wedding Pearl Hangers from BuzzFeed Weddings:

That’s how a soon-to-be-bride deck out her wedding essentials — simple yet classy! Hopefully, you enjoyed doing this project before you walk down the aisle together with your lucky man. Best wishes, girl! *kisses*
Looking for more DIY projects? Click here.
Like this post? You’ll also like…
32 DIY Mason Jar Crafts For Your Home


Delicious Chocolate Ice Cream Nails that Scream Summer!

7 Prettiest Braided Hairstyles For Flower Girls | Wedding Checklists
