
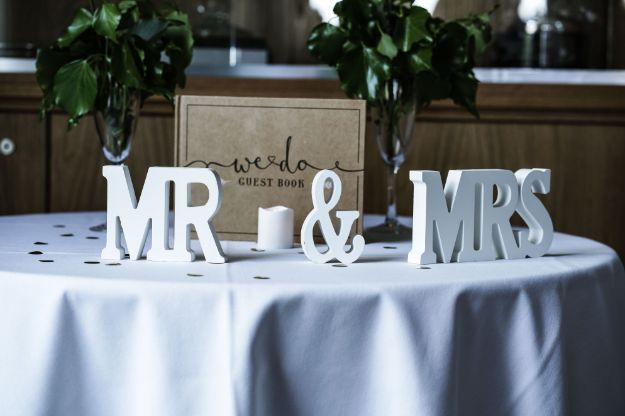
Decorations are essential in setting the entire scene and feel of a wedding. That is why most of the couples splurge for amazing decorations and lighting just to create a romantic wedding scene. But if you are a bride on a budget, creating your own personal touches could be the way to go for your big day. So here’s another DIY wedding project just for you. This wooden monogram letters would create a big impact without breaking the bank.
Effortless DIY Wooden Monogram Letters for an Attractive Wedding Decals
Transform the Look of Your Wedding to a Romantic and More Personal Theme with this Wooden Monogram Letters
There are countless of ways on how you can decorate your wedding venue. It literally helps you in making your wedding preparations and it is one of the most noticeable attractions in a wedding. So you need to put extra care and planning when it comes to wedding decorations. It is not necessary to spend too much just for the decorations. There are lots of clever ways to save a lot especially if you are a DIY bride. So in this blog, we will help you to save a few bucks in creating a big impact on your
So in this blog, we will help you to save a few bucks in creating a big impact on your wedding. This DIY wooden monogram letters by our friend Felicia Yap will sure to add the right spice to the scene. So let’s get started!
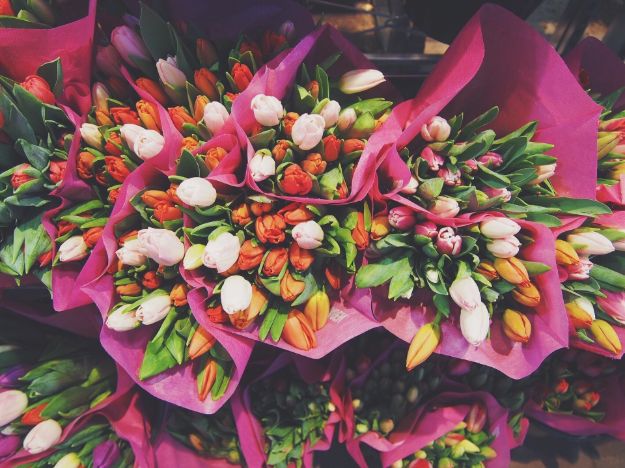
Materials
Step 1. Choose your Letters
Rearrange your initials! You can put the wife’s initials first to avoid the implication of husbands owning their wives.
In some cases, it is necessary to switch the couple’s initials like the Royal Couple, Prince William and Catherine Middleton. They broke the royal centuries protocol to avoid toilet humor.
Tips: You can find wooden monogram letters in craft stores with different sizes and thickness.
Step 2. Paint the Wooden Letters
Paint the wooden monogram letters. You can choose one of your wedding colors to complement your wedding theme.
Using spray paint, and coat all the sides and make sure to do this in a well-ventilated area. After you have painted all the sides and edges of the letters, let them dry.
Step 3. Attach the Flowers
When your letters have dried, remove the silk flowers from their stems and arrange them on your monogram. When you’re happy with the layout, use a hot glue gun to attach the flowers and to stick them in place. You can also use beads, pearls, and other colorful silk flowers to decorate your monogram.
Step 4. Attach the Ribbon
You can glue some decorative ribbon at the back of your letters if you plan to hang your monogram.
Step 5. Place your Monogram Creatively
And that’s all it takes to make a DIY wooden monogram.
You can watch the full video tutorial on DIY Wedding Decorations: Wooden Monogram Set right here:
I think you will all agree that this DIY project is very easy and surprisingly elegant decals for a wedding. I love how you can make this beautiful wooden monogram letters without any effort. It is a fun skill and another milestone to all DIY brides out there.
To all our DIY bride readers, you can visit here for more creative DIY wedding projects.
Liked this? You will surely also like…
DIY Stunning Henna Tattoo For Wedding
Leave a Reply