


Are you aware that June is the National Rose Month? Happy National Rose Month! Celebrate this awesome month by showing off a very beautiful and realistic rose design nail art. Learn how by reading this tutorial by JauntyJuli.
Sweet Rose Nail Design Perfect for National Rose Month
Learn How to Make a Realistic Rose Design With These Easy Steps
Roses have been a symbol of many things such as beauty, love, and even war and politics. Because if the many things this lovely flower represents, June has become its national month. To celebrate National Rose Month, try doing this awesome nail art tutorial that will put lovely roses on your fingernails.
You’ll need:
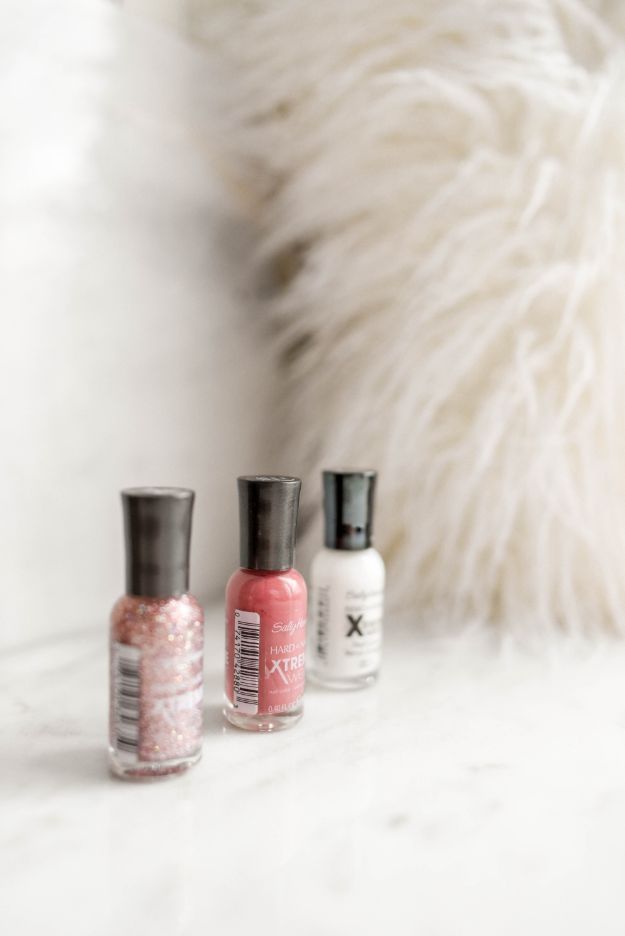
- PINK Essie ‘Tying The Knottie’
- FLAKEY Essie ‘Sparkle On Top’
- White Nail Polish
- Red Acrylic Paint
- Black Acrylic Paint
- Green Acrylic Paint
- TOP COAT Londontown Lakur ‘Protective Top Coat’
- Winstonia ‘Fine Line’ Nail Art Liner + Striping Brushes
- Winstonia ‘Berry Wine’ Super Thin Liner Set
Let’s Start!
Step 1: The Colors


Prep the colors so that the shades of the rose would be more realistic.
- Mix in a little Red Acrylic Paint to the PINK Essie ‘Tying The Knottie’ nail polish for the main color.
- For the transition color, mix in a little of the PINK Essie ‘Tying The Knottie’ to the red acrylic paint.


For the parts where the rose has a deeper shade, mix in the transition color to a little bit of black arcylic paint. And the white nail polish for the highlight.
After mixing the colors, this is what your color swatches will look like.
Step 2: Apply the Base Coat

Apply the white nail polish as the base coat.
Step 3: Start Drawing the Roses’ Petals

With the use of Winstonia ‘Fine Line’ Nail Art Liner + Striping Brushes and the main color, draw the petals of the roses.
Start drawing the center of the rose with a small circle. Keep layering the petals. At first, it will look like a blob of pink color but don’t worry, the shading will improve the design.
Step 4: Start Shading
Grab your Winstonia ‘Berry Wine’ Super Thin Liner Set brush and start graphing the petals of the roses. This is the start shading behind the petals.
Step 5: Blend the Color
Blend the color of the shading on the lower open petals of the roses. Then, use the darker shading color and dot it over the red.
Step 6: Highlight
Pick up the highlight color and go around the top edges of the petals of the rose. Dab the color right below the red shading.
Step 7: Repeat and Add a Few More Details
To finish the design, add more roses depending on your preference. Add in more details by drawing the stem and the leaves with the green acrylic paint. You can also apply the same shading and highlighting techniques to the stem and leaves. Wait
Step 8: Apply a Simple Design
If you think having a rose design to all your fingernails would be very redundant, just apply the PINK Essie ‘Tying The Knottie’ nail polish to the other fingernails and apply FLAKEY Essie ‘Sparkle On Top’ on top. After a little while, apply TOP COAT Londontown Lakur ‘Protective Top Coat’ for protection.
Voila!
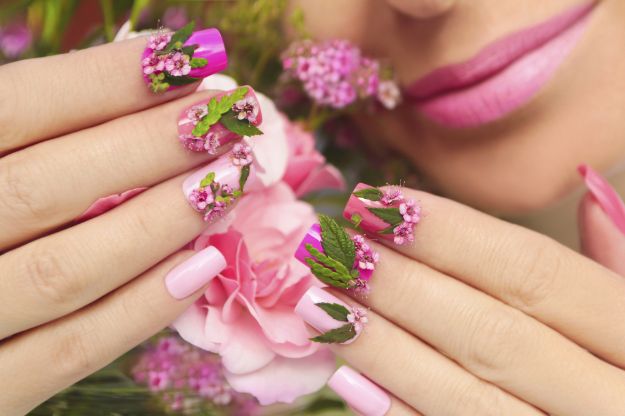
You now have a very beautiful and elegant rose nail art design!
For full video tutorial, watch the video below:

Isn’t this gorgeous? What a beautiful way to celebrate the month of roses! Show this to your friends and make this awesome nail art design. You never know, maybe this will inspire guys out there to give you actual roses (wink!).
For more nail arts, click here.