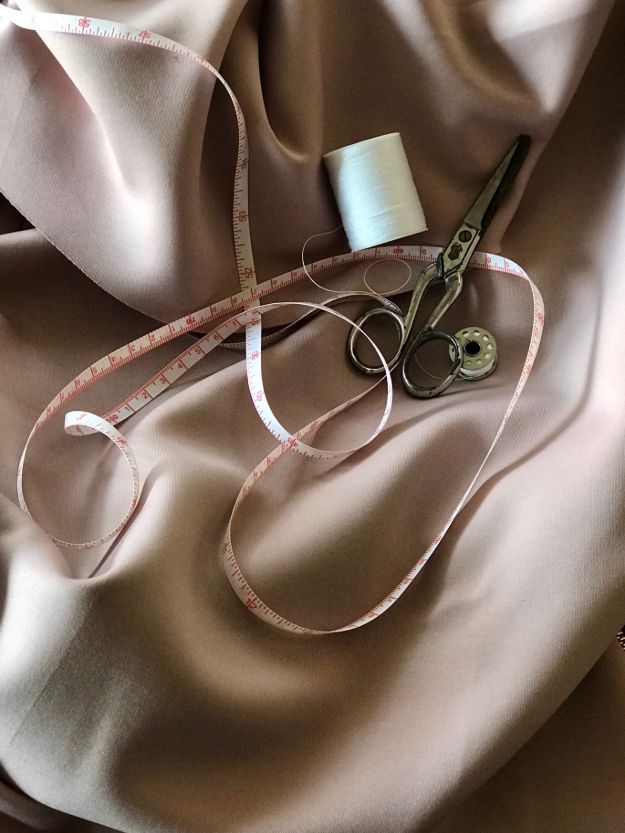
Summer’s about to close but the trendy off the shoulder top is here to stay! Transforming your old shirt to a glam top will not just reveal your creativity but also your glowing skin.
Whether you’re off to school or bound to your office, additional confidence is gained by wearing a cute outfit. Not to mention the compliments you’ll receive on the way. However, looking for stylish clothes that fits perfectly is one of the common dilemmas of women.
Flaunt Your Glowing Skin with this Chic DIY Off the Shoulder Top
–This post was originally written in Sewing.com and shared with permission —
To lessen your worries, look for an old dress shirt stacked up in your closet and reinvent it to an off the shoulder top! With just a few cuts and stitches, a new wardrobe piece is born. With this new piece, you’ll never run out of ideas in styling your garments!
In this project, you’ll hit two birds with one stone — saving an almost-forgotten top by creating a new (somehow) trendy piece! It’s like giving it a new purpose after months of being unused. So, why don’t we give it a try?
You will need:
- old button-down dress shirt
- one inch wide elastic band
- clothing pins
- sewing machine
Step 1: Lay the potential off the shoulder top on the table

Put the shirt down flat on a table with the sleeves placed on the side.
Step 2: Determine where to cut

Find out where you would like your shoulders to be exposed. Usually, it is about four inches above the pocket line. Mark this with pins then continue doing this around the shirt.
- ✿ Material: 100% Cotton.
- ✿ Feature: Frill Smocked
- ✿ Occasion: Beach, Party, Club, Daily, Office, Wedding etc. For spring, summer, fall and winter.
- ✿ Simple and casual match allows you to get more praise, it will be your wardrobe in the best of a summer clothing, you can wear it to the beach.
- ✿ The colors may be a little different due to different display and resolution. The size may have a little inaccuracy due to hand measure.
Step 3: Cut the off the shoulder top straight across
Using a good pair of sharp fabric shears, cut across the marked line of the shirt. This is where your skin will be exposed when wearing the top.
Step 4: Fold and iron
Hide the row edges by first folding a quarter of an inch of the fabric inwards toward the wrong side. Then fold in another half an inch, pin, and hot iron it. Continue doing it around the shoulder line. This will be the neckline.
Want to see the next steps?
Keep Reading HERE on our sister site, Sewing.com!
Love the off the shoulder look? Check out this adorable dress from Mason & Ivy!
Click here for more fun DIY projects!
Love this post? You will also love…
11 First Date Outfits That Will Make Him Fall For You
Easy DIY Pencil Case | Back to School Sewing Project


Leave a Reply