
If you have been obsessing with galaxies and horoscope, then this DIY galaxy nails tutorial is for you. Now you can tune all the stars and match your look with this easy nail art. Keep reading for the how-to.
I’m pretty sure you’ve seen a lot of trendy hashtags like galaxy nails and makeup on social media. In Instagram alone, the #Nailfie has reached nearly 200 thousand hashtags. And for the galaxy, well, it’s just over 4 million tags. Not a big thing, RIGHT?! What more if you combine the two? If you love horoscope and stars, you definitely have to bookmark this tutorial.
Tutorial | Touch All The Stars With DIY Sparkly Galaxy Nails
Stars play a big part in horoscope. Now you can DIY them on your nails with this nail art! We all like to be artsy and creative when it comes to our fashions senses. From head to toe, there’s always a room for awesome experiment that’s always worth the hype. Now it’s time to pamper our nails with a nail design that’s on point and well, horoscope-y. Check out this DIY and let the stars be your guide!
For the galaxy nails, you’ll need
- Nail File
- 36 Watt UV Lamp
- Nail Polish Brush
- Gel Base Coat
- Gel Top Coat
- Glittery Color UV Gel (Blue, Lavender, Pink)
- Zodiac Nail Art Water Decals
- Picking Clip
- Gold Beads
- Diamond Gems
- Spare Gems
- Cotton Pad
- Sally Hansen Extra Strength Nail Polish Remover
- Lavender Cuticle Oil
What You Need to Do:
Step 1. File

File your nails to proportionate and shape them.
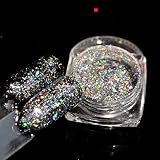
- DIY nail glitter
- Nail Art Decoration
- nail flake powder
- holographic glitter powder
- Nail Glitter Powder
Step 2. Base Coat
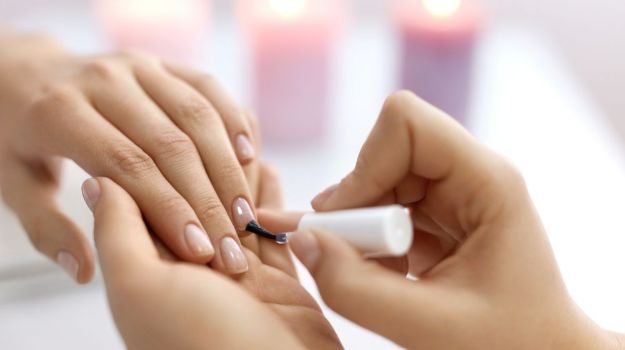
Once your nails are filed very well, apply base coat on all your nails in both hands.
Step 3. Dry
After you’ve applied the base coat on all of your fingernails, let them dry under the UV lamp. Using a 36 Watt UV Lamp makes your fingernails dry faster.
Step 4. Polish
Once your nails are all dried out, start applying the color UV gel onto your nails. Start with the blue one, then mix it up with the lavender and the pink color uv gels.
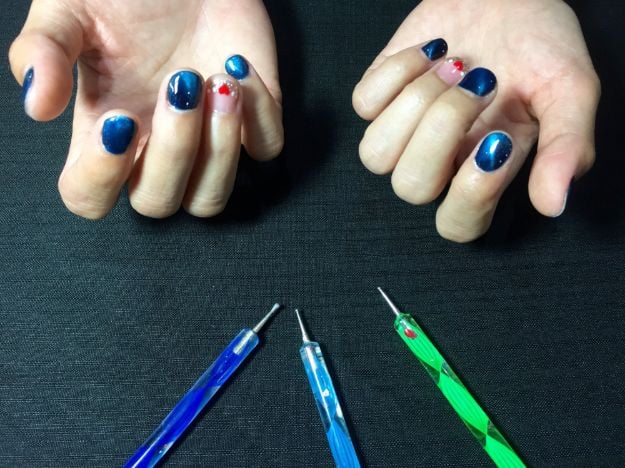
Step 5. Cutout
Grab your zodiac nail art water decals and cut them out piece by piece. It has all of the zodiac’s signs and symbols so you need to have them cut out per sign and symbol.

- QUICK & EASY: Place vinyl stencil on nail and apply nail polish for instant nail art design. Remove vinyl, wait dry and seal with top coat. Easy as 1-2-3!
- ENDLESS POSSIBILITIES: Creative designs for various occasions, seasons and even your mood! Pair with colors of your liking. Your friends won't believe you're the master behind those killer manicure!
- ULTRA THIN: Lightweight foil paper reduces blob and thick edge like regular craft vinyl paper. Glossy surface for a smooth application.
- COST FRIENDLY: Comparing to an easy $30++ at nail salon, these nail vinyls are so much more affordable.
Want to see the full tutorial?
Keep Reading HERE on our sister site, Nail Designs, for Galaxy Nails!
Do you know why you dream about your ex? Find out the answers here!
Seeking for more DIYs that deserve the hashtag? Click the links below!
Easy 3D Star DIY Lamp to Keep Your Night Cozy and Bright
Zodiac Signs | DIY Galaxy-Inspired Wall Decor for Stars Enthusiast
DIY Printed Photo On Canvas Project
Leave a Reply