Are your nails ready for a vogue summer nail design? If you’re planning to go on a vacation or at least daydream of having one, this nail art will surely intensify the summer vibes!
Nail Art | Tropical Neon Summer Nail Design
Your Guide to a Fab Summer Nail Design with a Sizzling Twist
The most awaited time of the year has come, ladies! After reinventing your tops and jeans to a more summer-inspired collection and styling your hair to a humidity-proof hairdo, your nails should be next on your list. If you’re aiming to have the best summer experience ever, consider this tutorial as an extra spice to your sultry season!
Here’s what you need to know about creating the perfect tropical neon nails.
For this nail design, you’ll need:
- base coat
- white nail polish
- bright pink nail polish
- liquid latex
- 3 neon colors of nail polish (orange, yellow and green)
- small makeup sponge
- nail polish remover
- brush (for cleaning excess nail polish)
- black acrylic paint
- dotting tool
- small studs
- fast-drying top coat
With that being set, let’s get those nails pampered!
Instructions:
Step 1: Base Coat
Start applying a base coat to your nails to protect them from damage.
Step 2: White and Pink Nail Polish
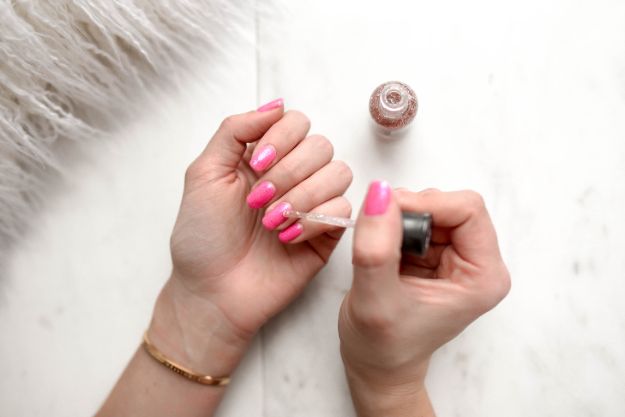
Apply a white nail polish to your middle and ring fingernails. Then, apply a bright pink nail polish to the rest of your nails.
Step 3: Liquid Latex
Next, apply a liquid latex around your ring fingernail to help protect the skin.
Step 4: Color Gradient
For the gradient, use four neon colors and apply each color on the makeup sponge- one color after another. Dab it onto the nail repeatedly until you achieved the gradient that you want.
Step 5: Clean Up
Remove the latex around the nail. Using a nail polish remover and a brush, clean and remove excess polish from the skin.
Step 6: Palm Tree
Using a black acrylic paint and a thin brush, create a palm tree by making a curved line on the nail. Then, apply five small curved lines all connecting to the top of the thicker line. On each line, apply small brush strokes to create the leaves.
Step 7: Flower Power
Using a dotting tool, make a cluster of four dots using each neon nail polish onto the middle fingernail. Now that you’re done with the flower petals, apply a black center for each one. Then, apply groups of three dots just to fill in the blank spaces.
Step 8: Small Studs
For the rest of the nails, use a neon yellow stud (or whatever stud you like). Apply a little bit of top coat to where you want the stud to go then attach the stud to the nail.
Step 9: Fast-Drying Top Coat
Finish off with a fast-drying top coat to seal in your design and add a beautiful shine.
And with a few more minutes of waiting, you’re now off to flaunt your tropical-inspired nails!
Here’s the full tutorial for this on-the-season nail design:
Easy, right? You can still add more designs, depending on your personality or preference. Don’t forget to capture it and have it posted on your social media accounts. This will surely be a big hit, especially for this season. Enjoy painting your nails, ladies!
For more tutorials, click here.
Leave a Reply