
Planning your vintage-themed wedding will not be complete without a perfectly gorgeous bouquet to walk down the aisle with. Make it even more memorable with your very own vintage DIY wedding flowers! Here’s how. When I was a bride once upon a time, I made my own bouquet of wedding flowers freshly picked from my mother’s garden. And boy, was it memorable indeed! Now, I get to share stories of how I’ve broken a stem or two and exactly how many hours it took me to achieve the exact design I wanted. 🙂 And when the wedding photos came out, I just couldn’t believe how great my DIY wedding flowers looked on print. It might have something to do with excellent wedding photography, but still! Wouldn’t it be fun to show and tell your friends and family about it? Well, then, here’s your chance.
DIY Wedding Flowers: How To Create A Vintage Bouquet
These DIY wedding flowers are not the same as those make-believe, artificial paper blossoms type, ok? These are authentic, fresh flowers that perfectly fit the beauty of a blooming bride-to-be such as yourself. So handle them with TLC because it’s time to turn your flower game on! 🙂
The flowers
- 8 stems of Tibet Rose, white
- 9 stems of Calla Lily, a mixture of cream and purple
- 9 stems of Stock Matthiola, purple
- 1 bunch of Wax Flower, white
Fun Facts about these flowers…
- Calla lily is priced bit steeper but it has a longer shelf life compared to other flowers. The ones featured in this how-to have been stored for 2 weeks already, yet show no signs of browning on them. Just make sure to store them properly.
- Wax flowers make excellent bouquet fillers.
- Tiber Roses are not garden roses, so you will have to find these from your local florist.
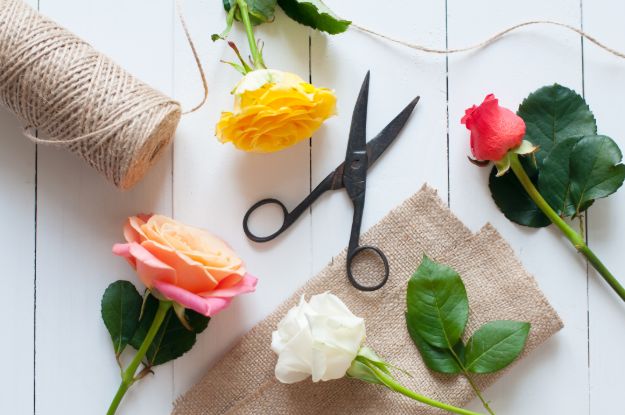
Materials needed
- 1 Jar, quarter-filled with water
- 1 pair of Garden Shears
- 1 pair of Kitchen Scissors
- 1 roll of Strapping Tape, green
- 1 roll of 28-gauge Wire
- 1 roll of Ribbon, white antique ivory satin
- 3 Pins
Tips
- When you cut out the main stem or the bottom part of the flower, make sure to soak it immediately in water to make it last.
- Don’t worry if you cut or snap out the upper branches, this has no direct effect on the flower.
- Place flowers inside the refrigerator if you purchased the flowers days before the event to keep them cool and fresh.
- Try working with a mirror in front of you to make it easier for you to check its design.
- When you wrap the stems, make sure to keep the wires out of sight to keep the bouquet’s natural look.
Let’s start and make the bouquet!
Step 1 Prepare the flowers
A. Extend the short-stemmed flowers
A.1 Trim the stem
Remove the extra branches and then trim the stem to 1 cm long.
A.2 Extend with wire
First, you shape the wire into a loop.
And then tie it to the stem.
A.3 Secure with tape
Roll the garden tape from the base of the flower down to the extending wire to secure the connection.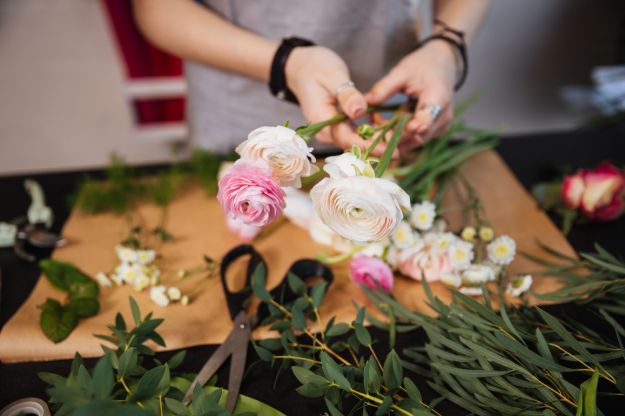
B. Prepare the long-stemmed flowers
B.1 Remove the leaves
Cut or pick out the leaves and thorns (if there are any) of the flowers to clear off the stem.
B.2 Cut the stem
Shorten the stem and immediately put inside the jar of water.
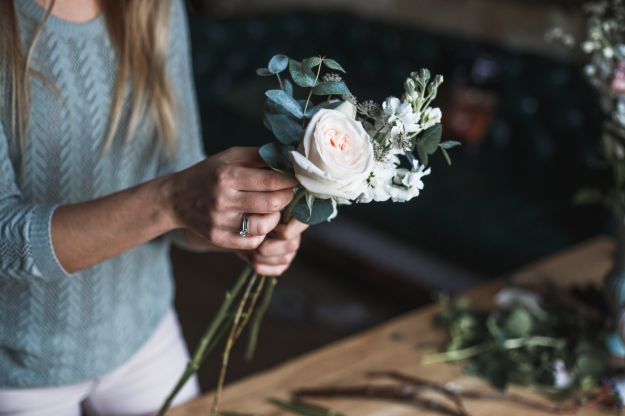
Step 2 Arranging the flowers
A. Start forming the center
Pick out the biggest flowers from the bunch of roses, calla lilies and stocks matthiola. This is going to form the center of the bouquet.
B. Put flowers together
Surround the center by alternating the flowers going in a circular direction. Make sure to fill the gaps and to keep the center as the highest part of the bouquet while you work your way to the sides in a downward manner to achieve a circular shape.
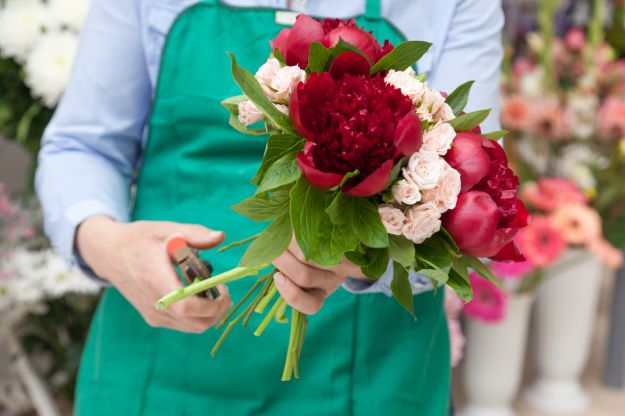
Step 3 Tie the stems
Make sure to tie the stems twice. The first time with the strapping tape, and then the second time with your ribbon. Let the base of the flowers be your start point. Fold and hide the unfinished end, then you just keep on rolling until you reach the desired length of the handle.

Step 4 Pin the end, soak, and done
Fold in the loose end of the ribbon and then pin it to the stems. You can trim the ends of the stem again to its final length and then soak immediately in water. Now this bouquet is ready for your I do’s! 🙂
Here is a video by Bootah Jardin Florists, showing us how easy it is to make these vintage DIY wedding flowers:
Are you excited to get started with your DIY wedding flowers already? How about giving it a test drive this weekend and seeing how it goes? You don’t have to buy the exact flowers yet since calla lily is a bit costly, but you can try to substitute them with similar flowers that you can find in flower shops or down in the local market. The combination of their colors and textures are just so dreamy. Your vintage-inspired DIY wedding flowers will surely be the talk of the town. 😉
Would you like to know more DIY wedding essentials? Twirl gracefully here!
If you like this, then you will absolutely adore these…
Spruce Up Your Wedding Favors Tea Lights With Washi Tape
Wedding Checklists | 19 Must-Have Beauty Secrets for the Soon-to-be Bride
Leave a Reply