
The yoga Crow Pose may look scary, but the truth is it isn’t! Here’s a quick and simple tutorial on how to do it like a veteran yogi.
Don’t worry, this is going to be pretty quick. I also have to run a few errands an hour from now. I’d like to discuss with you one of the misleading postures in yoga. It’s called the Crow Pose, one of the many animal-named poses. Obviously, it’s called as such since you will be looking like a crow! A lot of yogis fear it because it involves some leg lifting, but I want to make it easy and simple for you with this yoga Crow Pose step-by-step guide.
Fun And Easy Yoga Crow Pose Tutorial
4 Steps To Do A Great Crow Pose Like A Pro
Before we get to the steps, let’s answer that question in your mind: Why should you do it? A yoga Crow Pose is already a full body workout. You engage the muscles of your arms, legs, thighs, back, and hips. You can also exercise your wrists. The pose is also a good way to improve your balance, mental clarity, and focus. Isn’t that awesome?
The guide below is based on a YouTube video by Popsugar Fitness. I’ve checked a couple of yoga Crow Pose videos on the website, and this, by far, is the simplest and easiest to follow. Are you ready to do it?
Step 1. Warm up
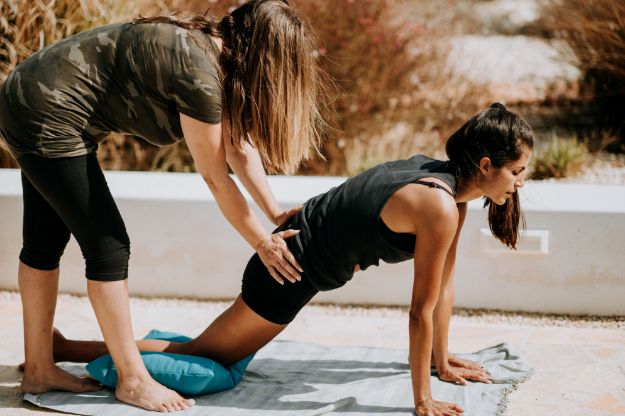
As an intermediate posture, the yoga Crow Pose demands a strong arm, an engaged abdomen, and a lot of focus. Thus, it may be necessary to do a warm-up. You can begin with a series of stretches to lengthen the spine and start moving the muscles of the legs and thighs. A plank is also one of the best postures you can do before you attempt to do the Crow Pose.
Step 2. Squat
Once that’s done, you can get on with doing the yoga Crow Pose. On a mat, sit in a squat position. A few pointers here:
- Keep your palms flat on the mat. This is important to achieve stability and balance.
- See to it your feet are placed not too far away from each other. Ankles may touch, but it’s better if you can place just a small gap between your feet.
- Place your knees a bit farther away from the shoulder but not too far you will lose your balance.
Step 3. Rock your body
From your squatting position, try to lift your legs up by doing the following:
- Look ahead, not down.
- Move your body forward you can actually lift your knees and feet up.
- Do the rocking motion, which is simply moving back and forth. DO NOT JUMP!
- Check your arms too. Make sure they’re bent.
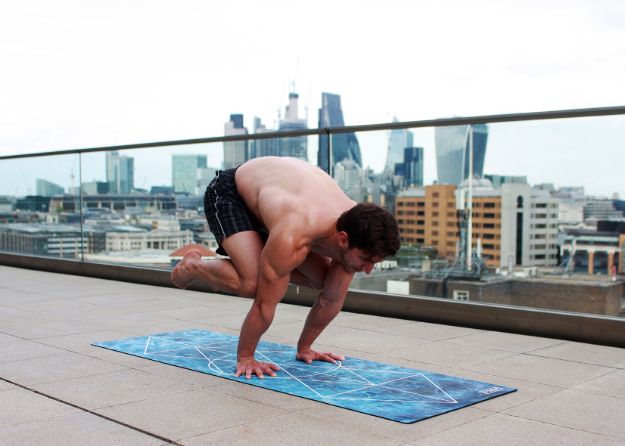
Step 4. Lift your toes
When you’re ready, lift your toes high above the mat and try your best to hold the pose for at least 5 seconds. You can just learn to hold it longer in the future as you feel comfortable with what you’re doing.
That’s it!
If you want to see the entire yoga Crow Pose tutorial, check this out:
Don’t worry if you won’t get it right the first time. It’s rare for people do that. Simply have fun and enjoy the learning experience.
How do you find the yoga Crow Pose? Share your thoughts about it through your comments! Want more challenge? Check out this tutorial.
Reach your life goals! Here are great tips:
Simplest Ways To Achieve Your Relationship Goals

9 Tips On How To Lose Weight Fast With Exercise

Your Homecoming Makeup Will Look Stunning With This Skin Care Steps

Featured image via buro247
Leave a Reply